

Prerequisites
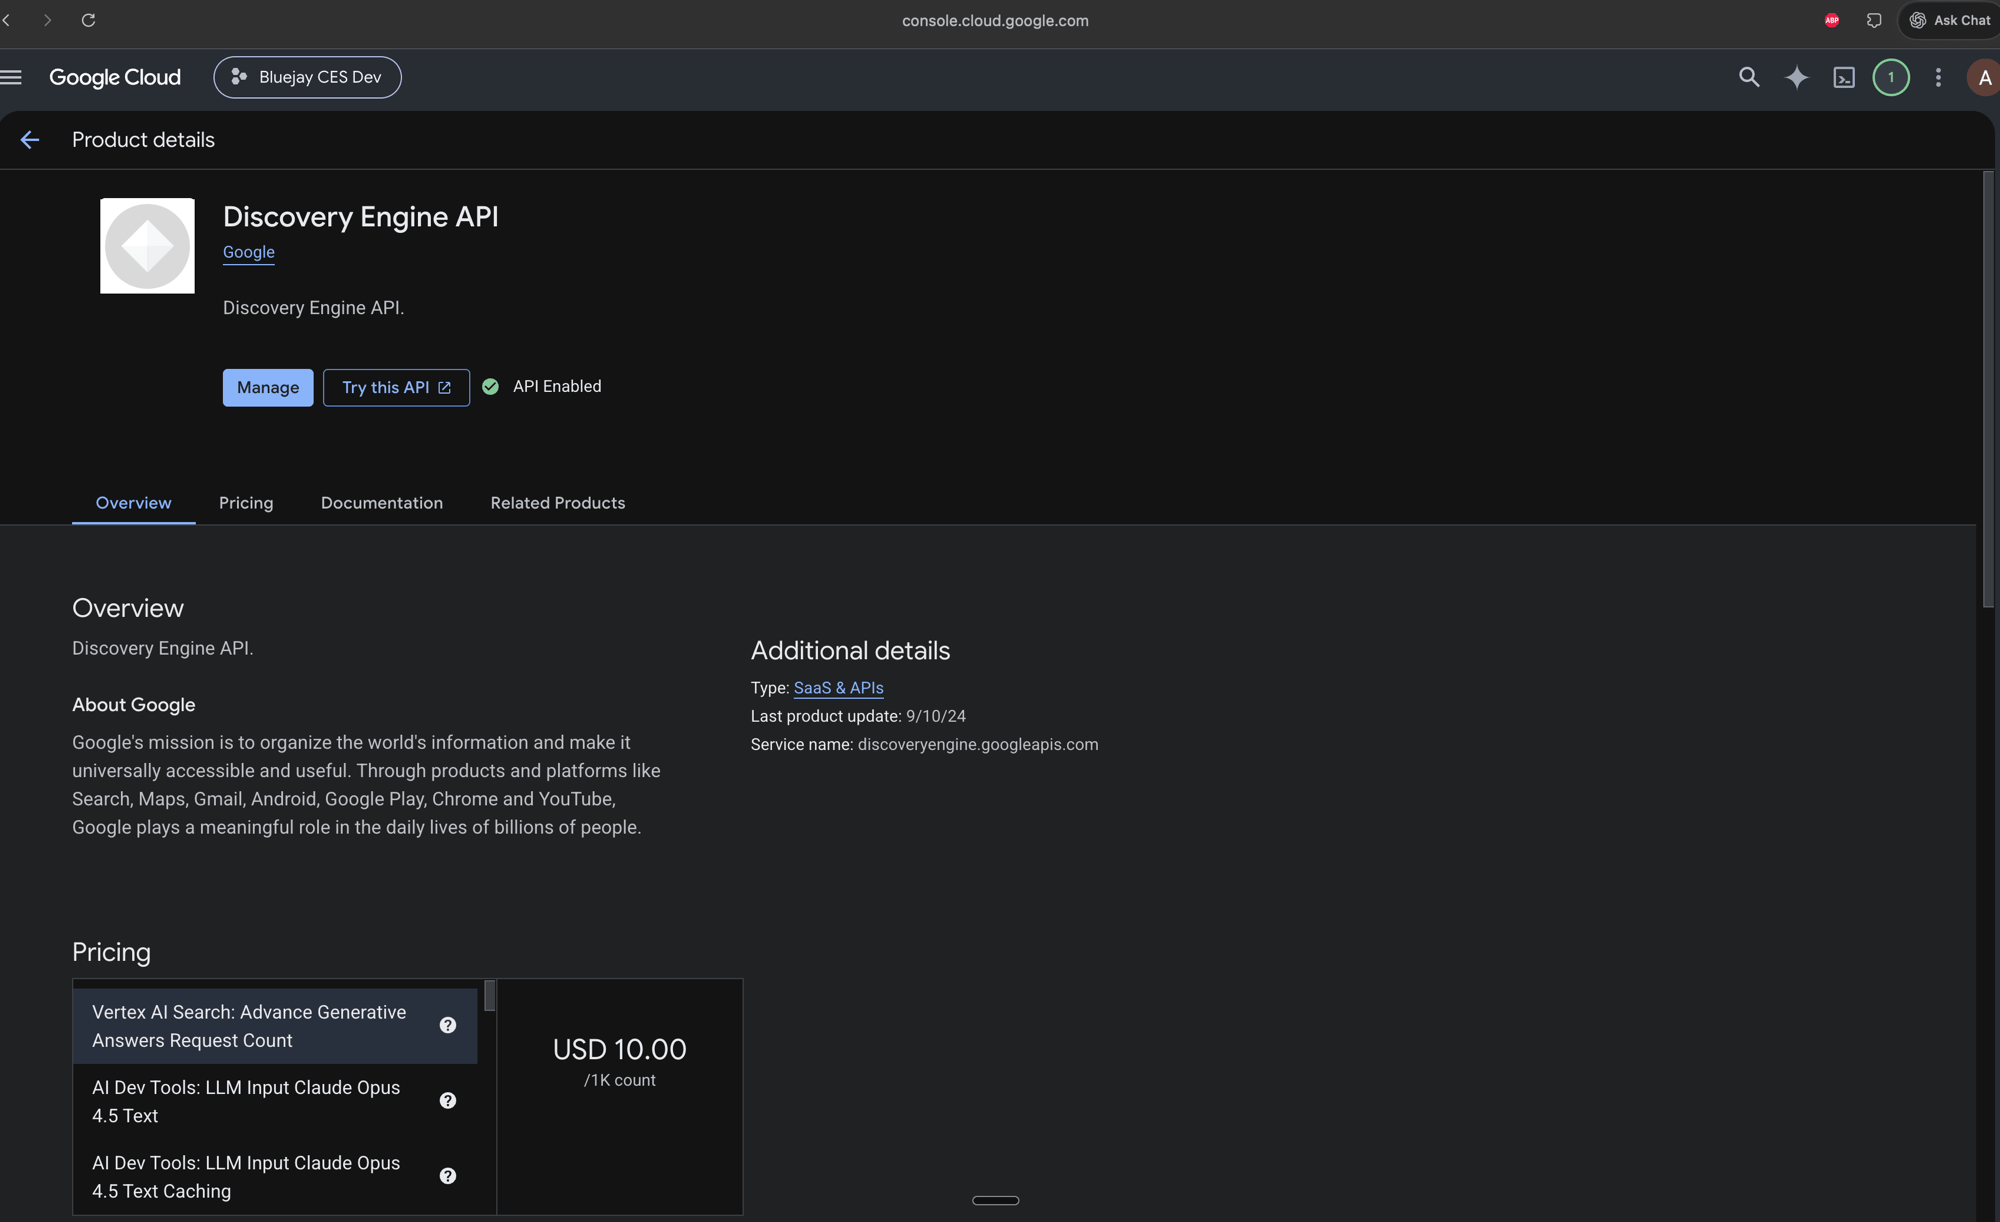
- A Google Cloud project with the Conversational Engine API (
ces.googleapis.com) enabled. - At least one CES app in that project.
- Permission to grant a service identity access to the project (to complete the steps below).
CES shares the same “Google Agents” integration and the same service-account key as
Dialogflow CX — one credential covers both Google agent types. If you
have already set up the shared credential for DFCX, you only need the CES-specific permissions
and the steps below. See the Dialogflow CX page for the shared
credential setup.
1. Grant Bluejay access (service account)
Bluejay authenticates to your Google Cloud project with a service-account key that you create and paste into Bluejay. The key is encrypted at rest and only ever used to call the Google APIs for your agents.Step 1 — Create a service account with the right permissions
In the Google Cloud Console → IAM & Admin → Service Accounts:- Create Service Account → give it a name (e.g.
bluejay-ces).
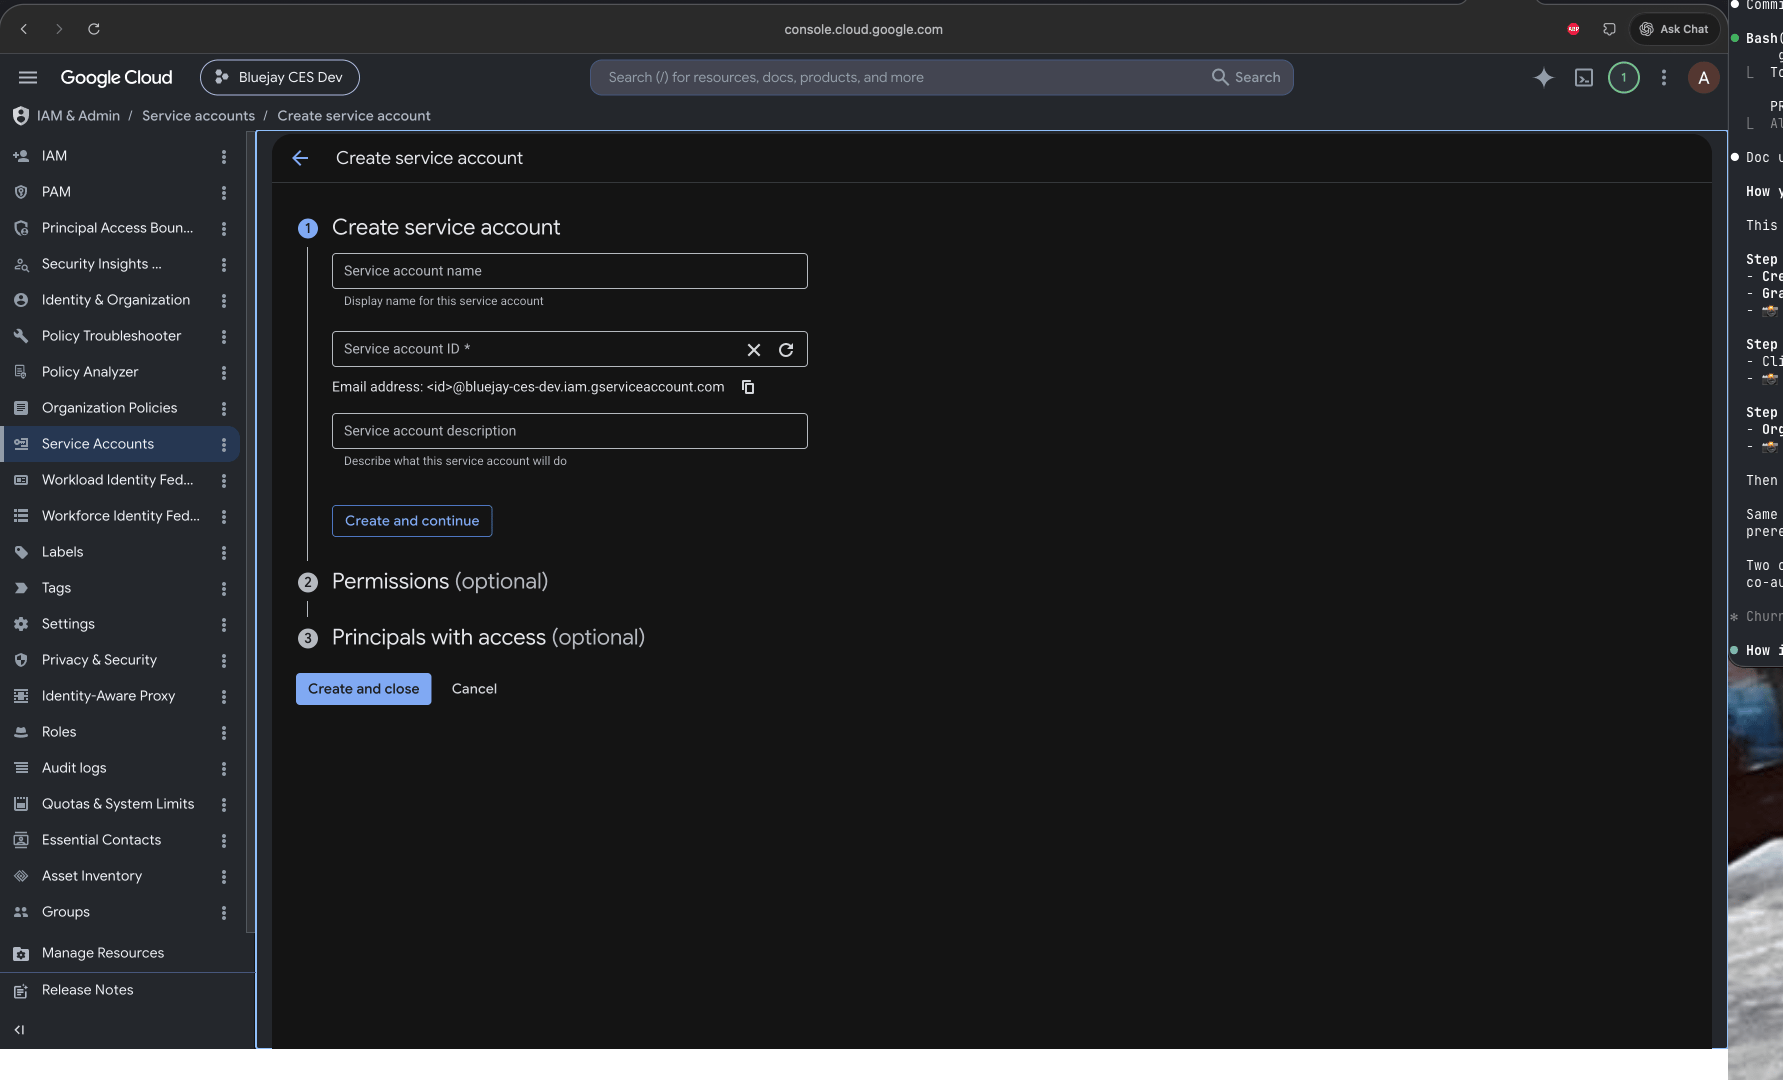
- Grant the minimal CES permissions. CES is read + run only — there is no edit/push tier. CES
apps live under the Conversational Engine API (
ces.googleapis.com). Create a custom IAM role (IAM & Admin → Roles → Create Role) with exactly the permissions below, or use the pre-built role listed for each group.
roles/ces.viewer and roles/ces.client are complementary, not overlapping — viewer has the
app/deployment reads but no session permission; client has the session permissions but no reads. So
the pre-built path is roles/ces.viewer + roles/ces.client + roles/serviceusage.serviceUsageConsumer,
or roles/ces.admin (covers read + run) + roles/serviceusage.serviceUsageConsumer.
Step 2 — Create a JSON key
On that service account, open the Keys tab → Add Key → Create new key → JSON → Create. A.json key file downloads to your machine.
Step 3 — Add it to Bluejay
- Log into your Bluejay Dashboard.
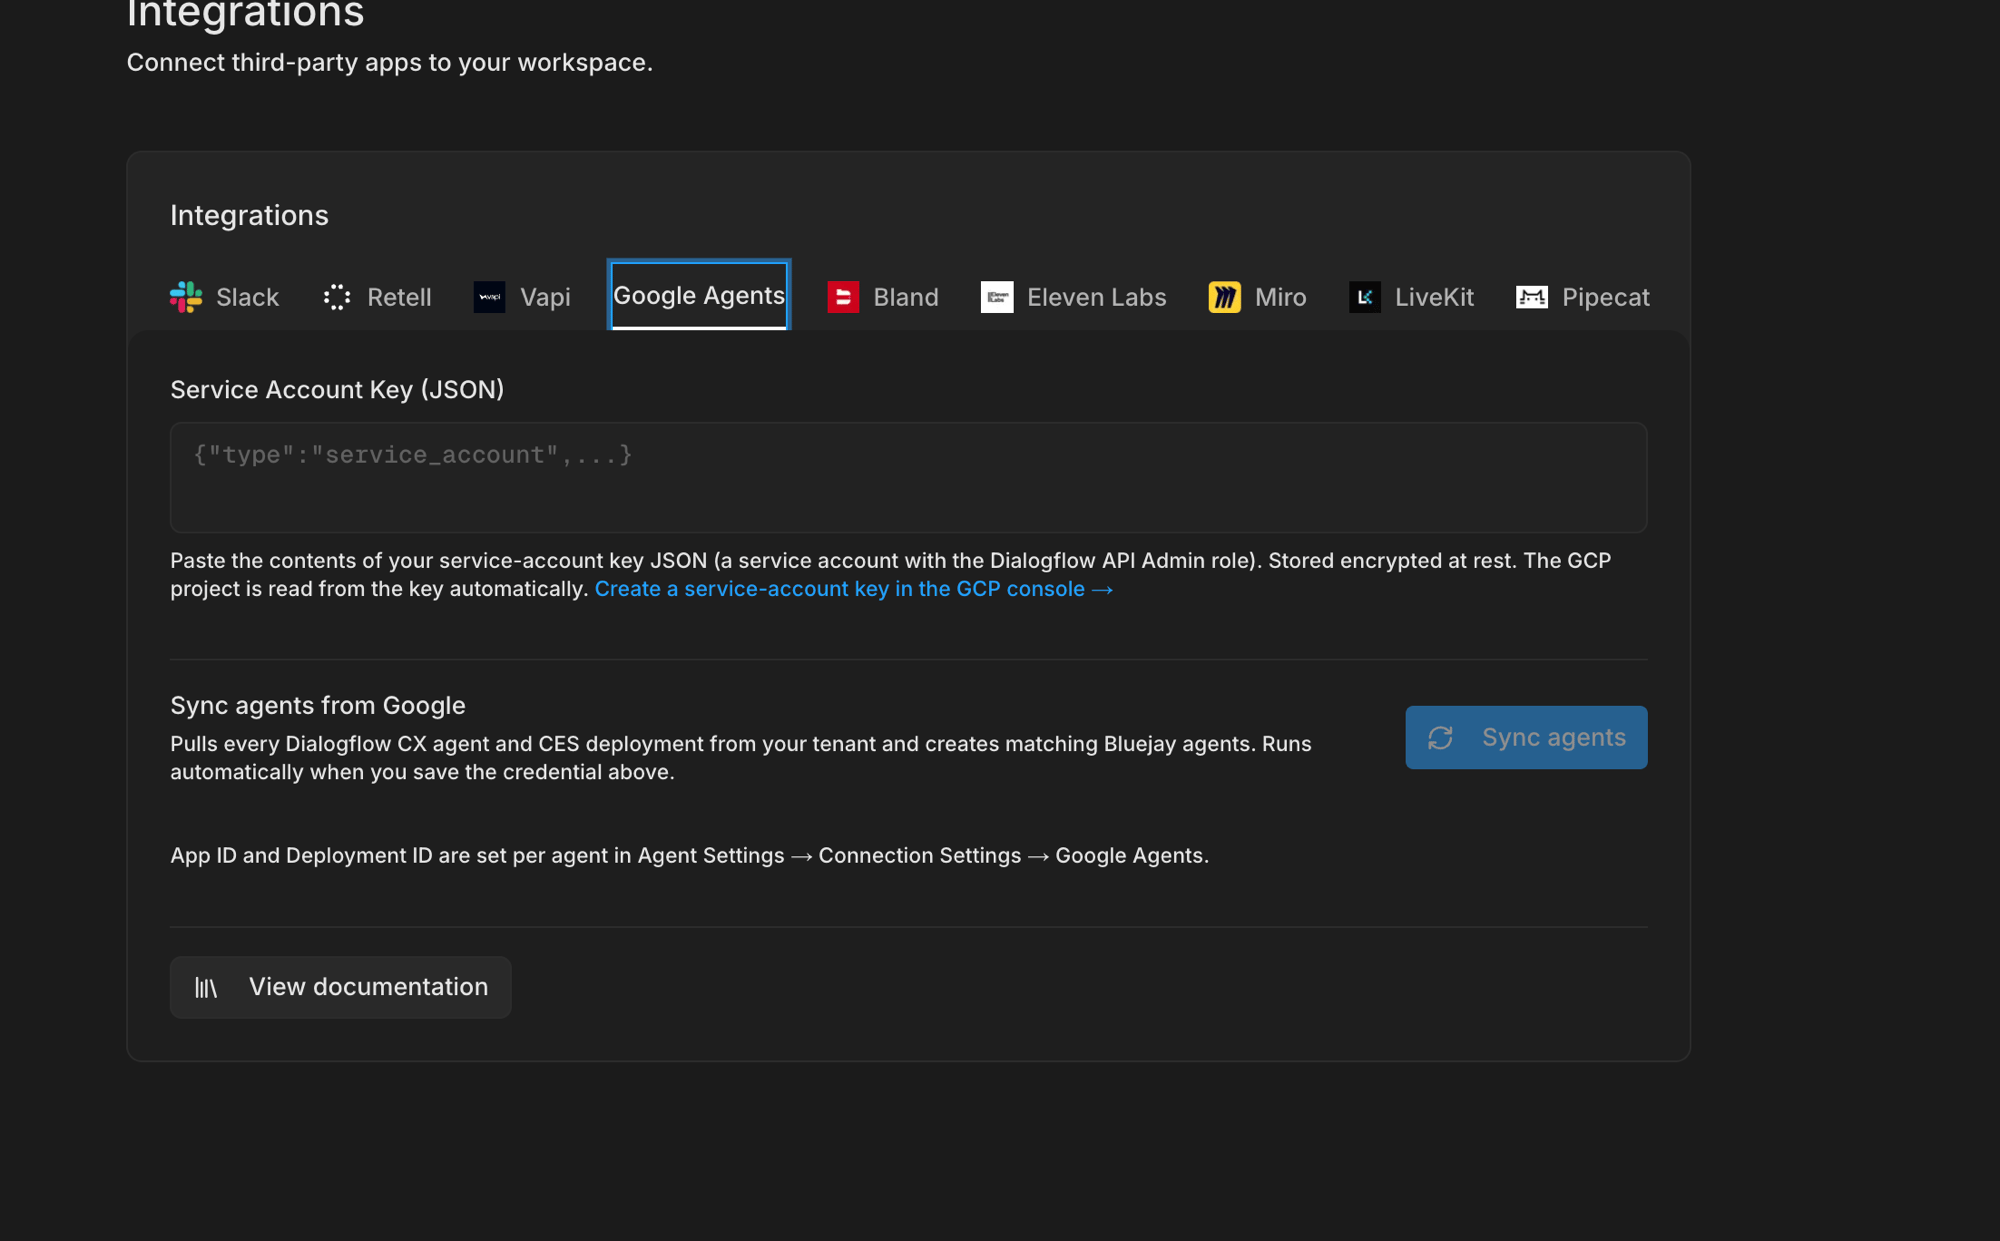
- Click your Organization menu (bottom-left) → Integrations → Google Agents.
- Paste the contents of the JSON key file into Service Account Key (JSON).
- Click Save.
2. Sync your Google agents
Once the credential is saved, discover your agents:- In Settings → Integrations → Google Agents, click Sync.
- Bluejay scans your project across all locations and creates an agent in Bluejay for every CES engine it finds (alongside any Dialogflow CX agents).
3. Connect an agent
Most agents are wired up automatically by Sync. To connect or adjust one manually:- Open the agent’s Connection settings.
- Choose the Google Conversational Engine (CES) connection type — Voice or Chat.
- Set the CES connection fields:
That’s all that’s needed — the service-account key from Step 1 handles authentication.
4. Test your agent
With an agent connected you can run simulations against it like any other Bluejay agent. In Simulations → Create Simulation, pick a simulation type and run Digital Humans against your CES agent: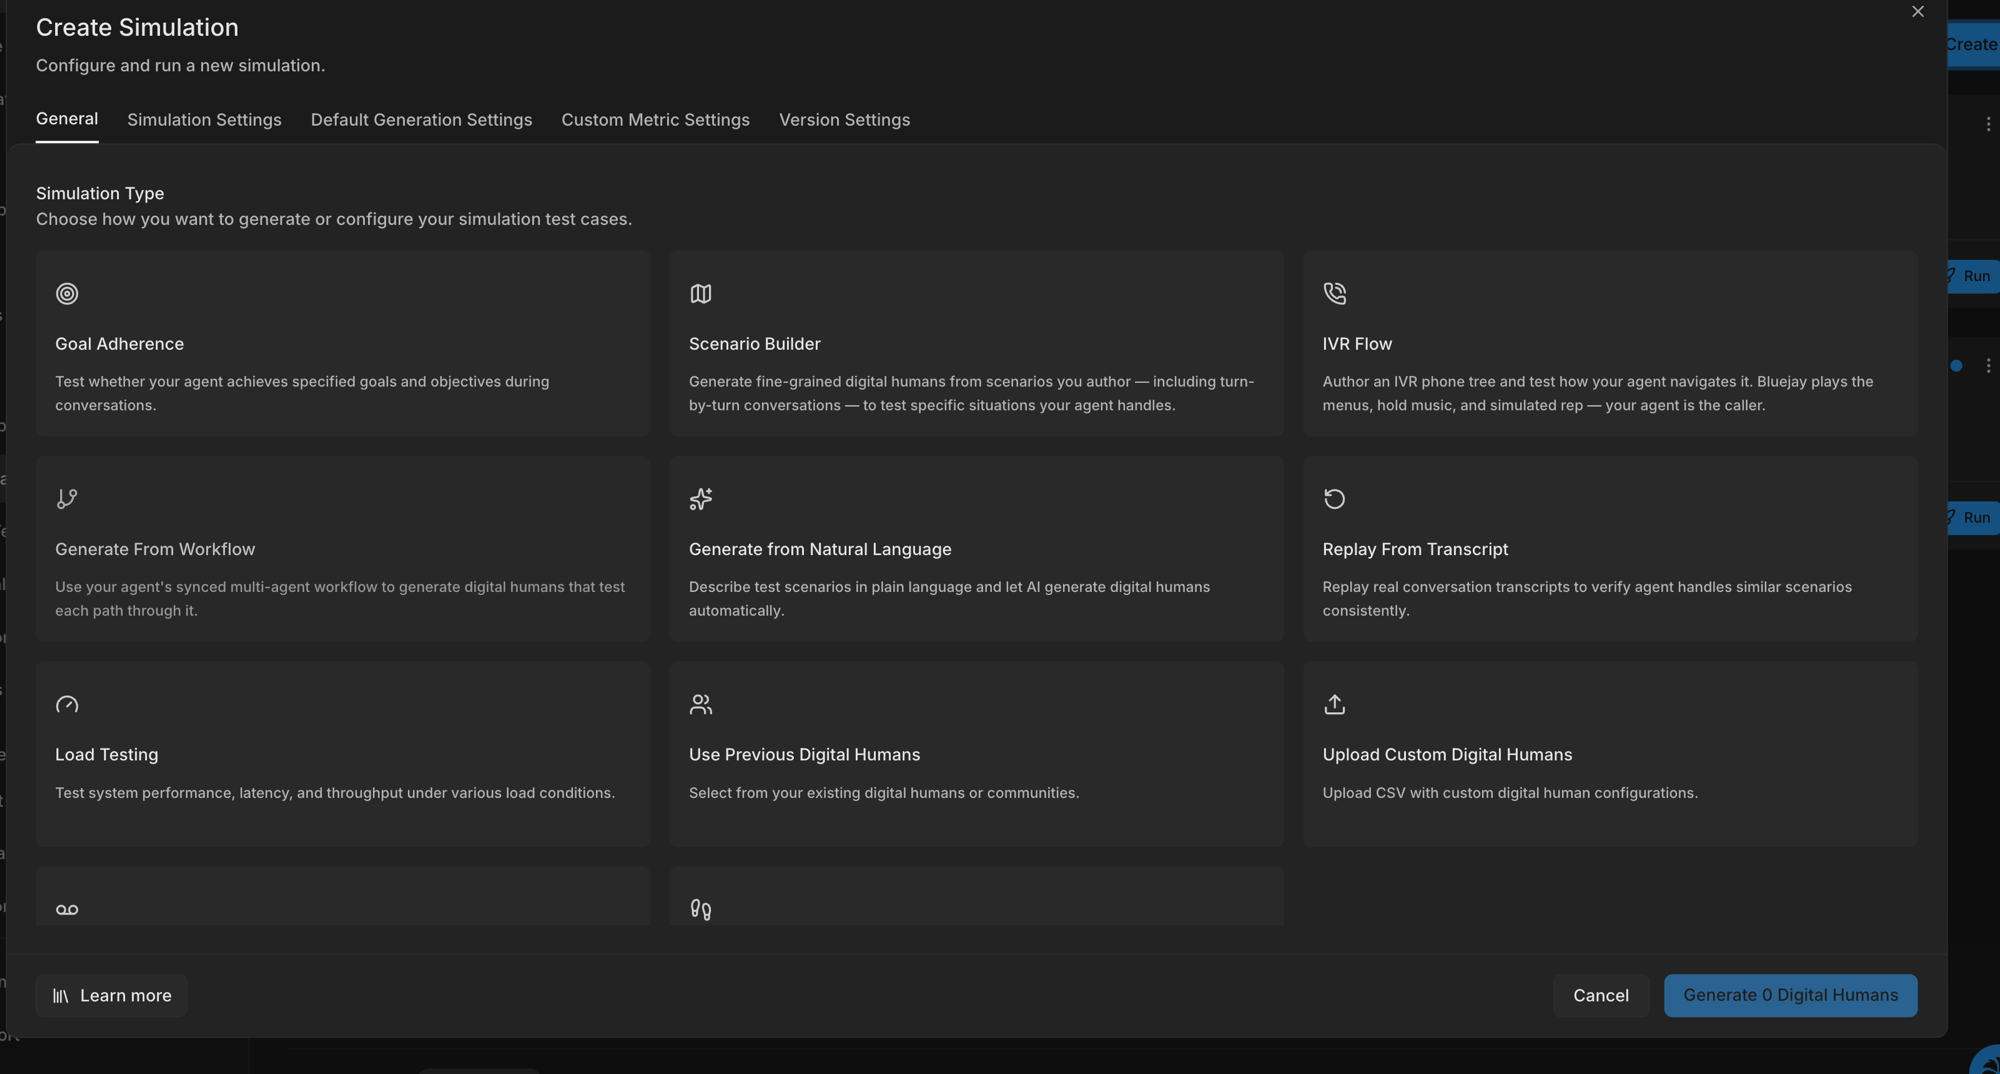
- Voice simulations bridge audio between a Bluejay Digital Human (the caller) and your CES agent in real time.
- Chat simulations drive a turn-by-turn text conversation.
Tool calls are handled automatically. When your CES agent invokes a tool or function call
mid-conversation, Bluejay captures the invocation (tool name + arguments), returns a response so the
turn keeps flowing, and sends that tool response back to CES — no setup required. Today the returned
value is a default acknowledgment (
{"status": "ok"}); configurable/scripted tool responses are on
the way. Server-side tools that CES runs itself (data stores, OpenAPI/connectors) still execute
normally on Google’s side; this only covers the client-side calls handed back to the caller.