

Prerequisites
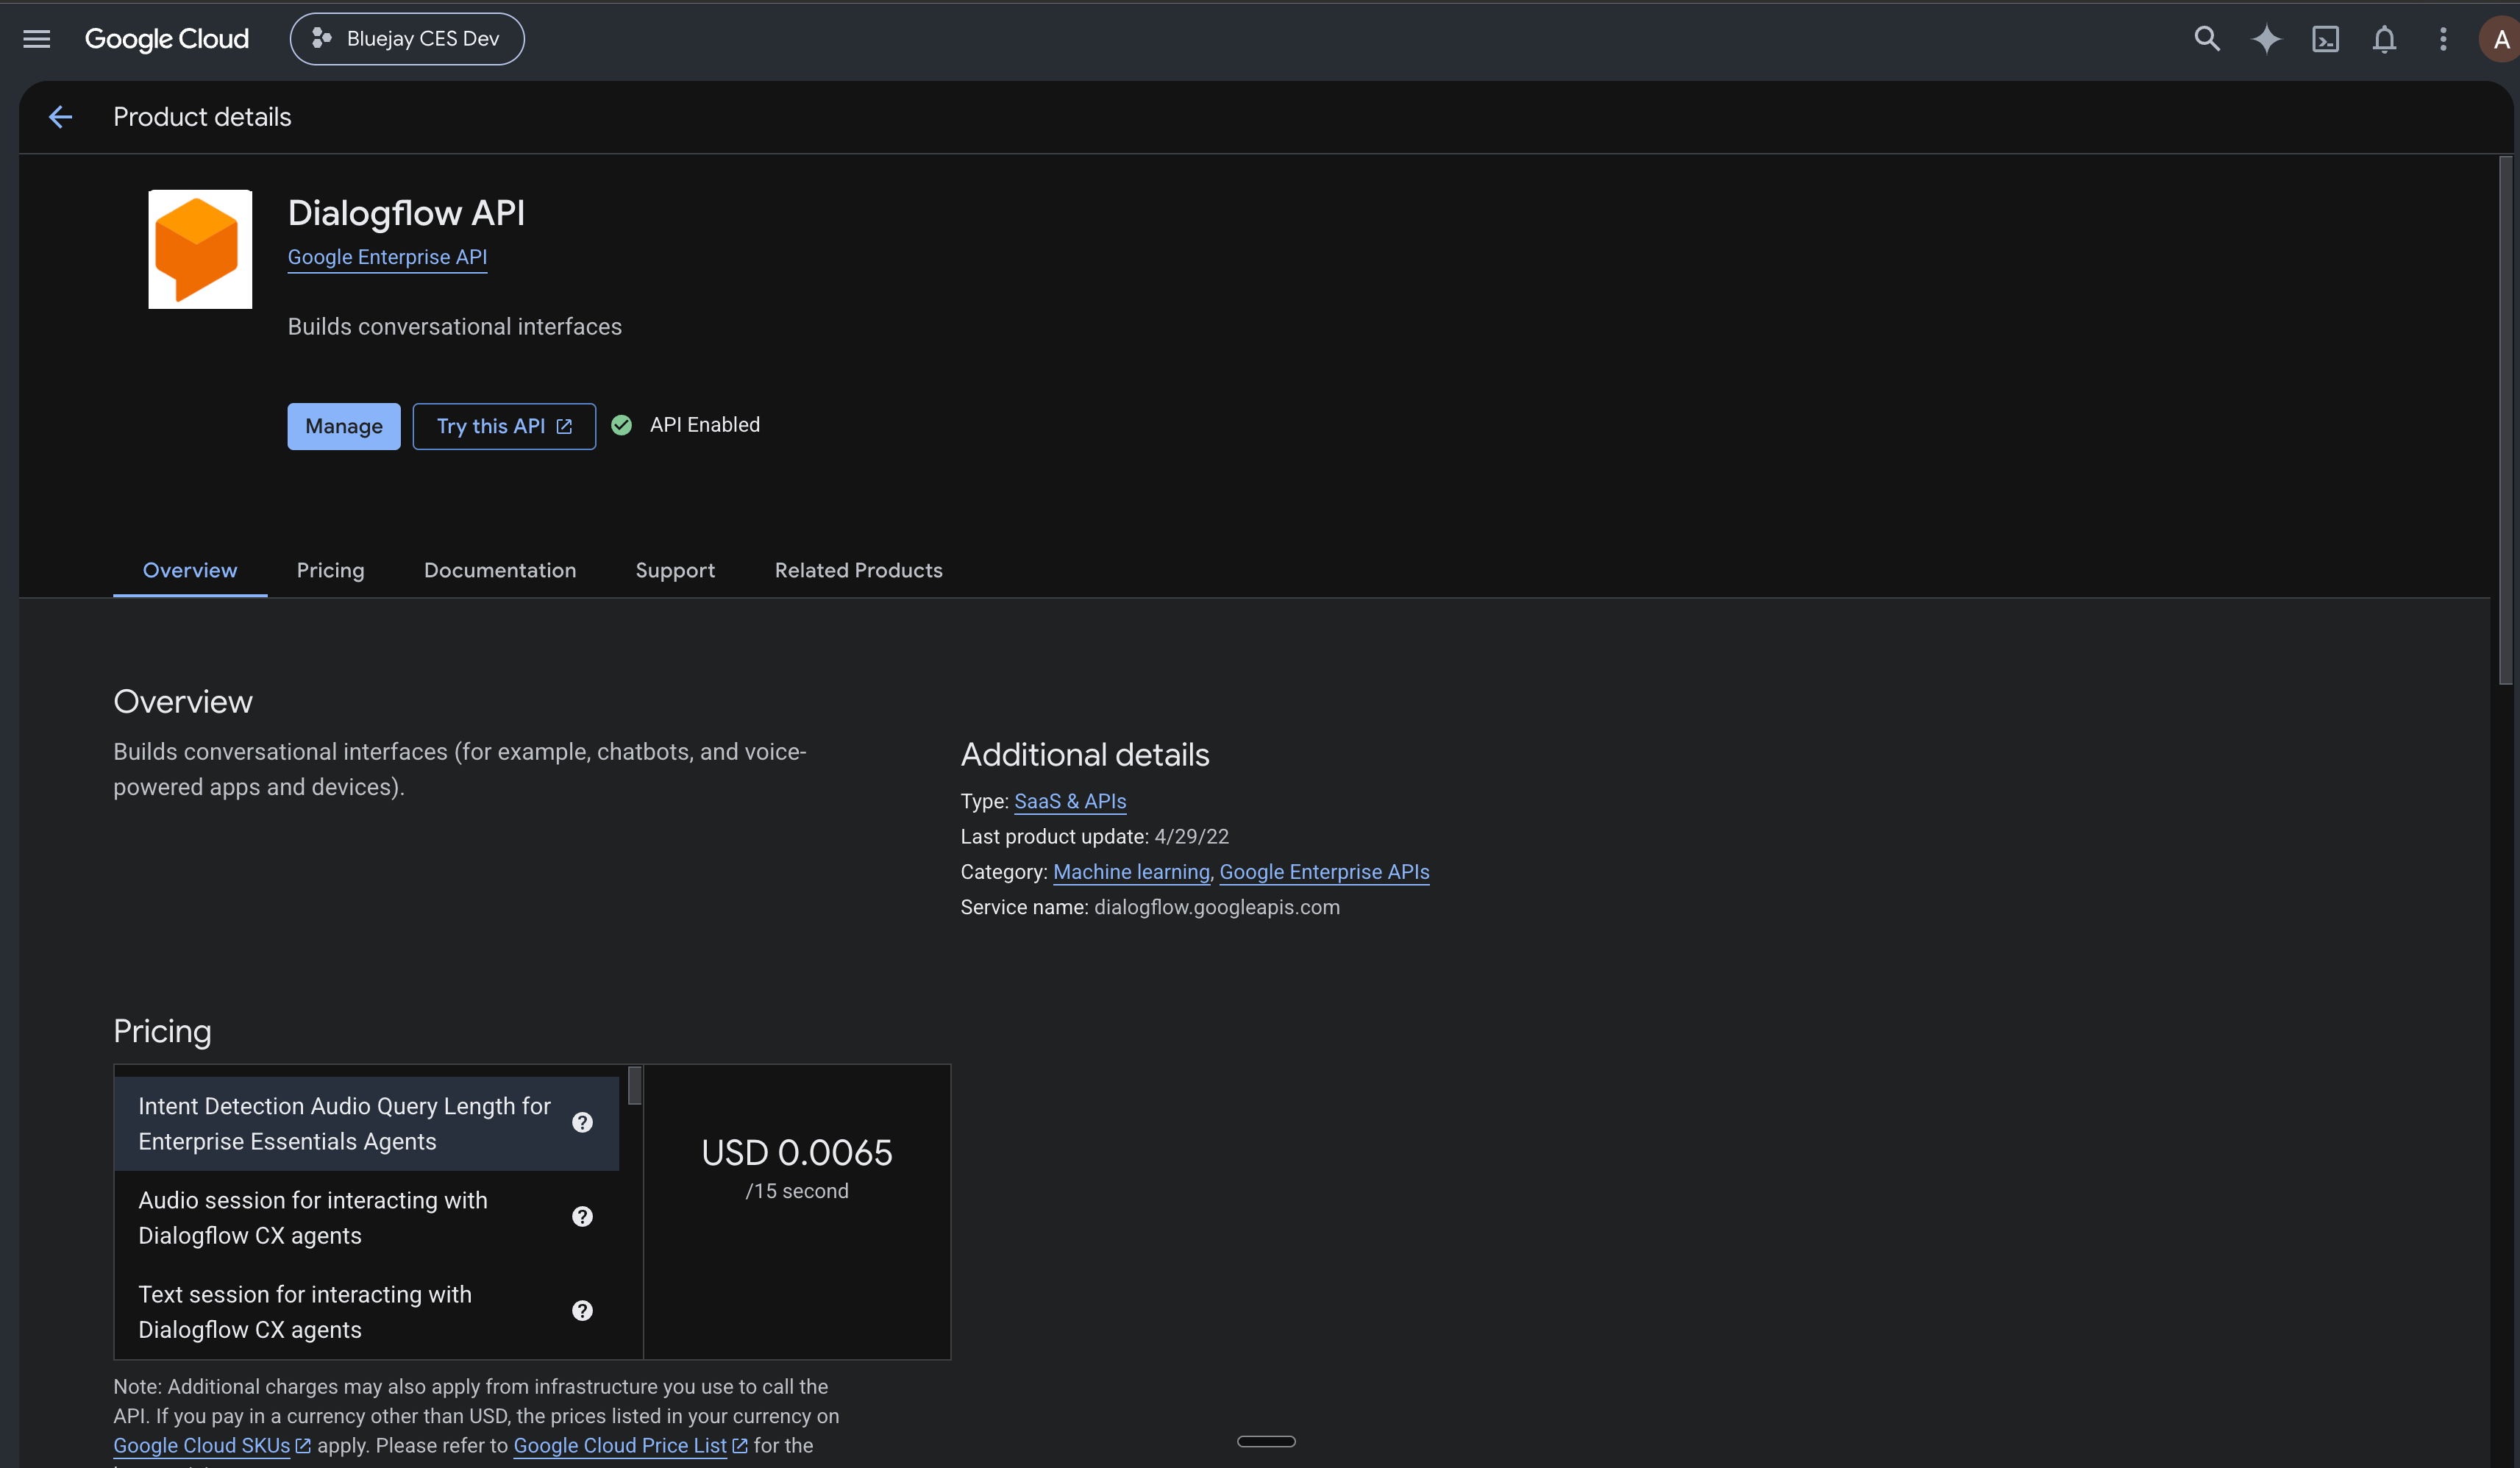
- A Google Cloud project with the Dialogflow API enabled.
- At least one Dialogflow CX agent in that project.
- Permission to grant a service identity access to the project (to complete the steps below).
The same credential also discovers Google Conversational Engine (CES) agents in the project, so
both Google agent types are picked up by a single connection.
1. Grant Bluejay access (service account)
Bluejay authenticates to your Google Cloud project with a service-account key that you create and paste into Bluejay. The key is encrypted at rest and scoped to Dialogflow only — it lets Bluejay talk to your agents, nothing else.Step 1 — Create a service account with the right permissions
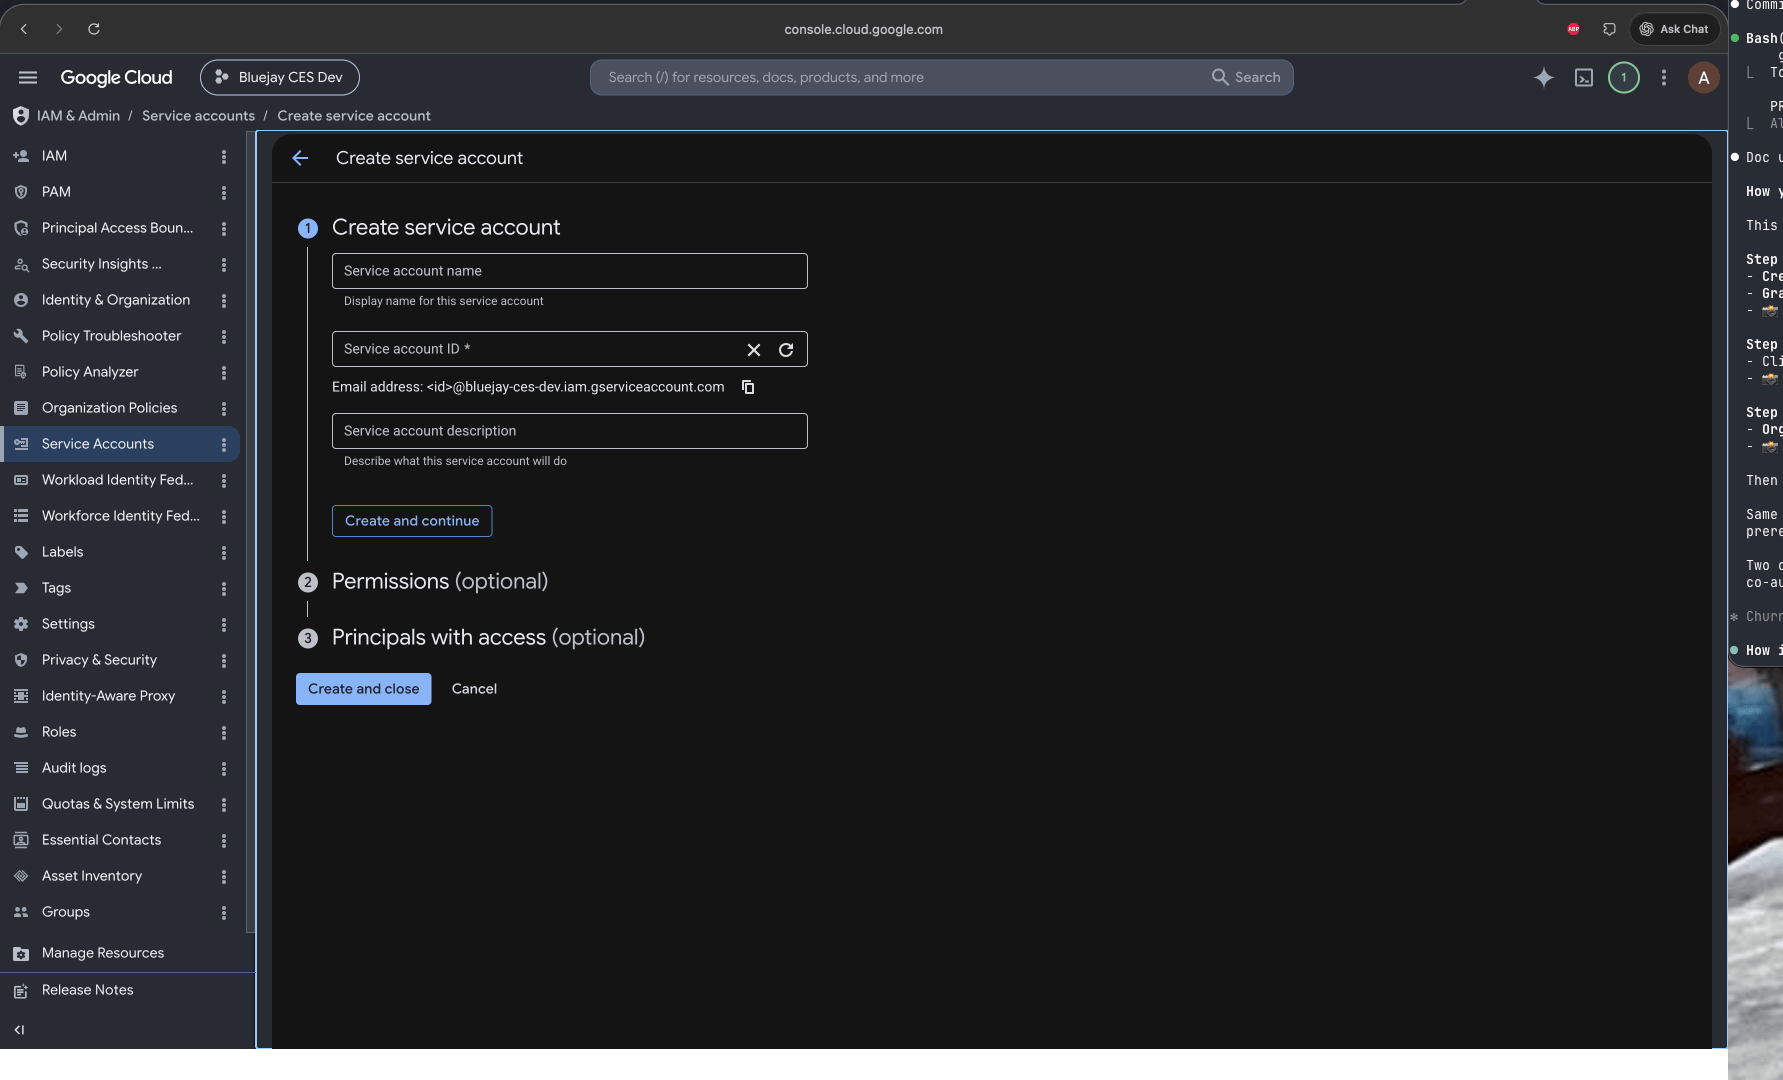
In the Google Cloud Console → IAM & Admin → Service Accounts:- Create Service Account → give it a name (e.g.
bluejay-dfcx).
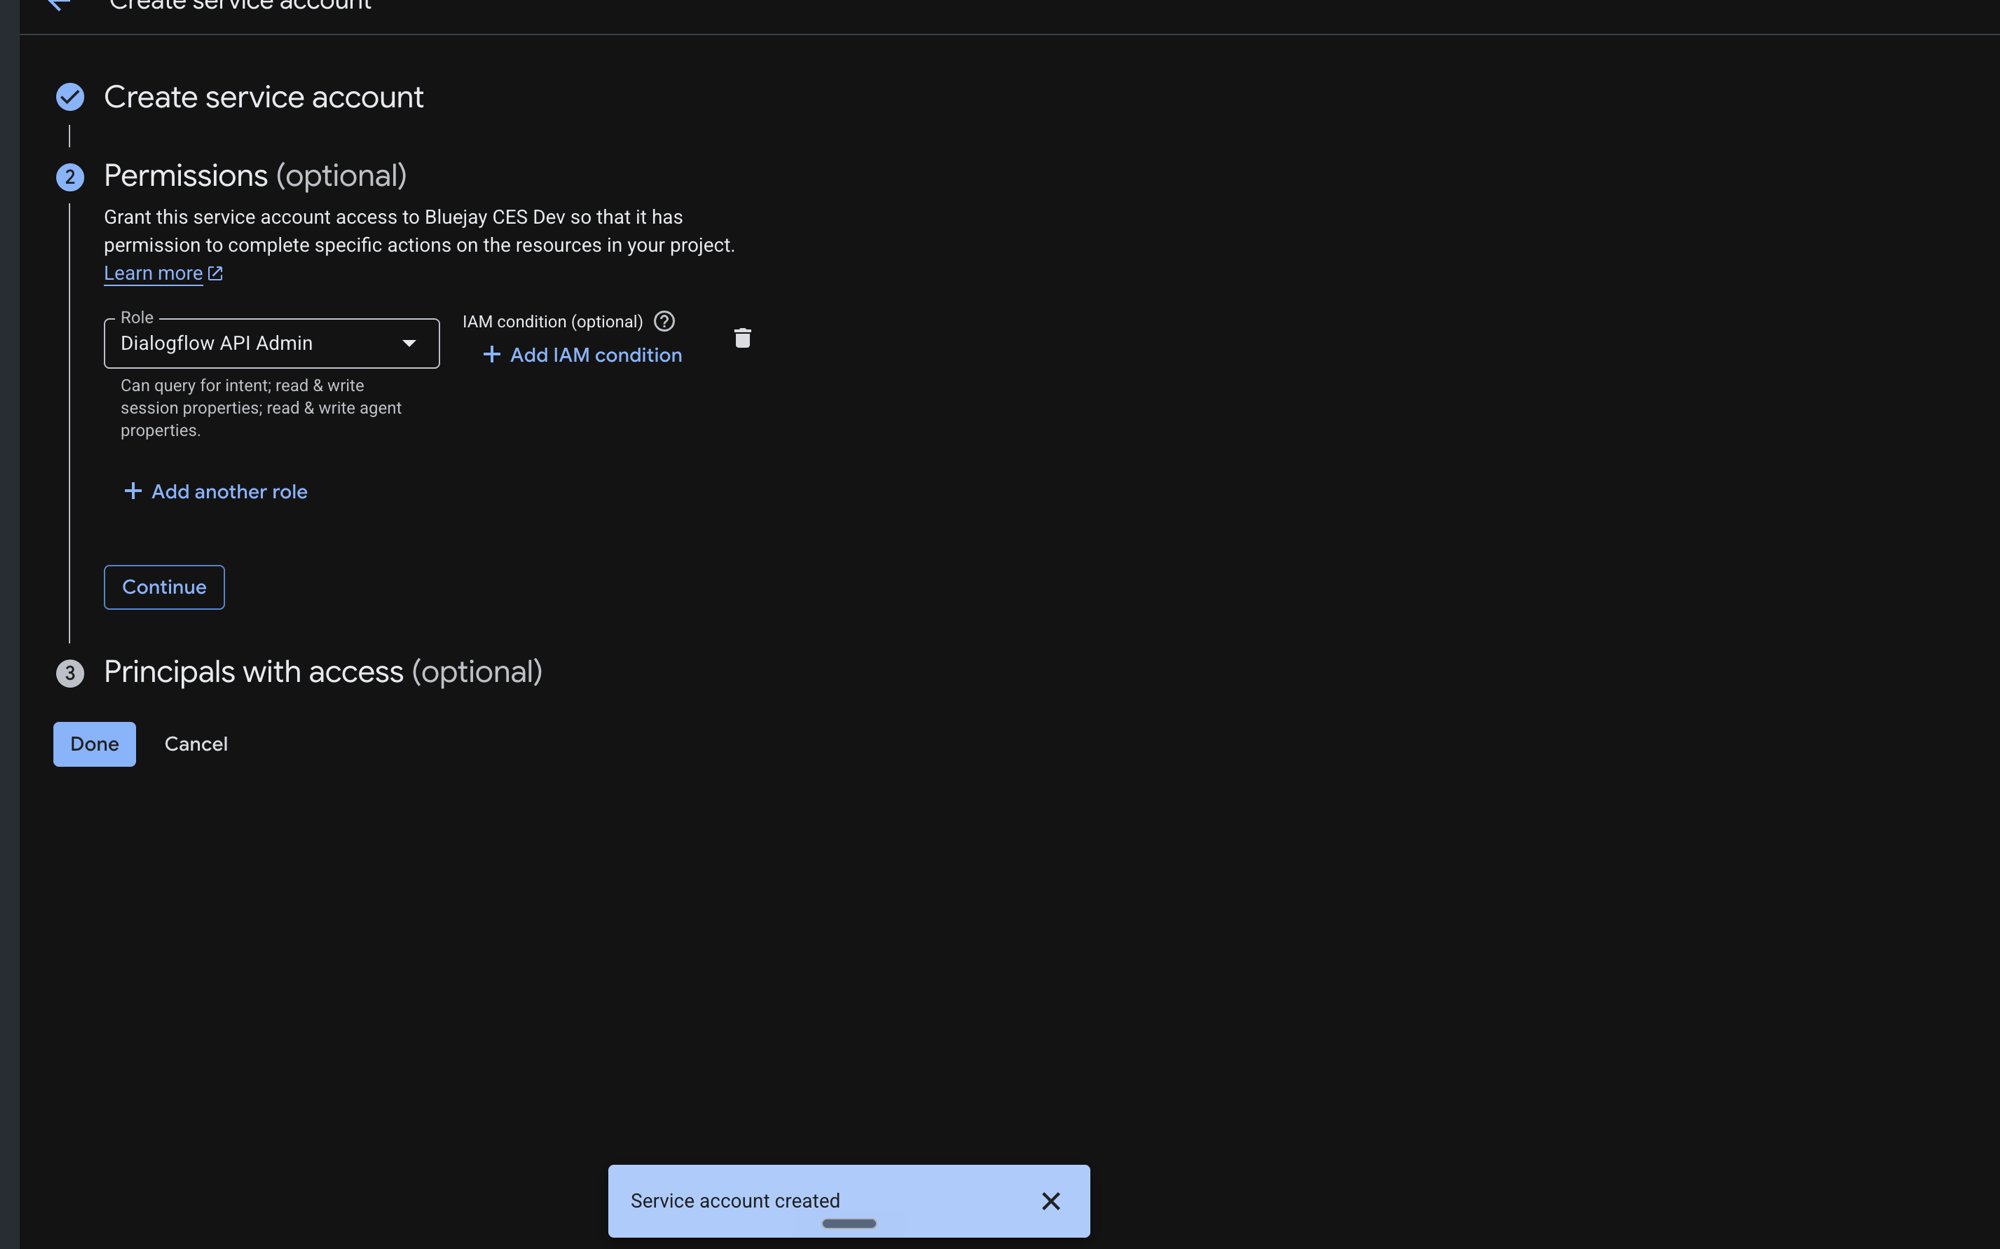
- Decide which capability tier you need, then create a custom IAM role (IAM & Admin → Roles → Create Role) containing exactly those permissions and grant it to the service account. GCP grants roles, not bare permissions — the custom role is how you apply a minimal set. Each tier also lists a predefined-role equivalent if you prefer a quicker (but broader) grant.
Tier 1 — Test only (read + run simulations)
Use this tier if Bluejay only needs to sync agent definitions and run live simulations. Read / sync permissions
Runtime permissions
Predefined-role equivalent (quicker, broader):
roles/dialogflow.reader +
roles/dialogflow.client — grants everything in Tier 1 and a bit more.
Tier 2 — Edit + push (also version & promote workflows)
Use this tier if Bluejay also needs to push workflow edits, snapshot versions, and deploy to environments. Tier 2 includes all Tier 1 permissions plus the following writes:
Predefined-role equivalent (quicker, broader):
roles/dialogflow.admin — grants the full
Dialogflow feature set.
Step 2 — Create a JSON key
On that service account, open the Keys tab → Add Key → Create new key → JSON → Create. A.json key file downloads to your machine.
Step 3 — Add it to Bluejay
- Log into your Bluejay Dashboard.
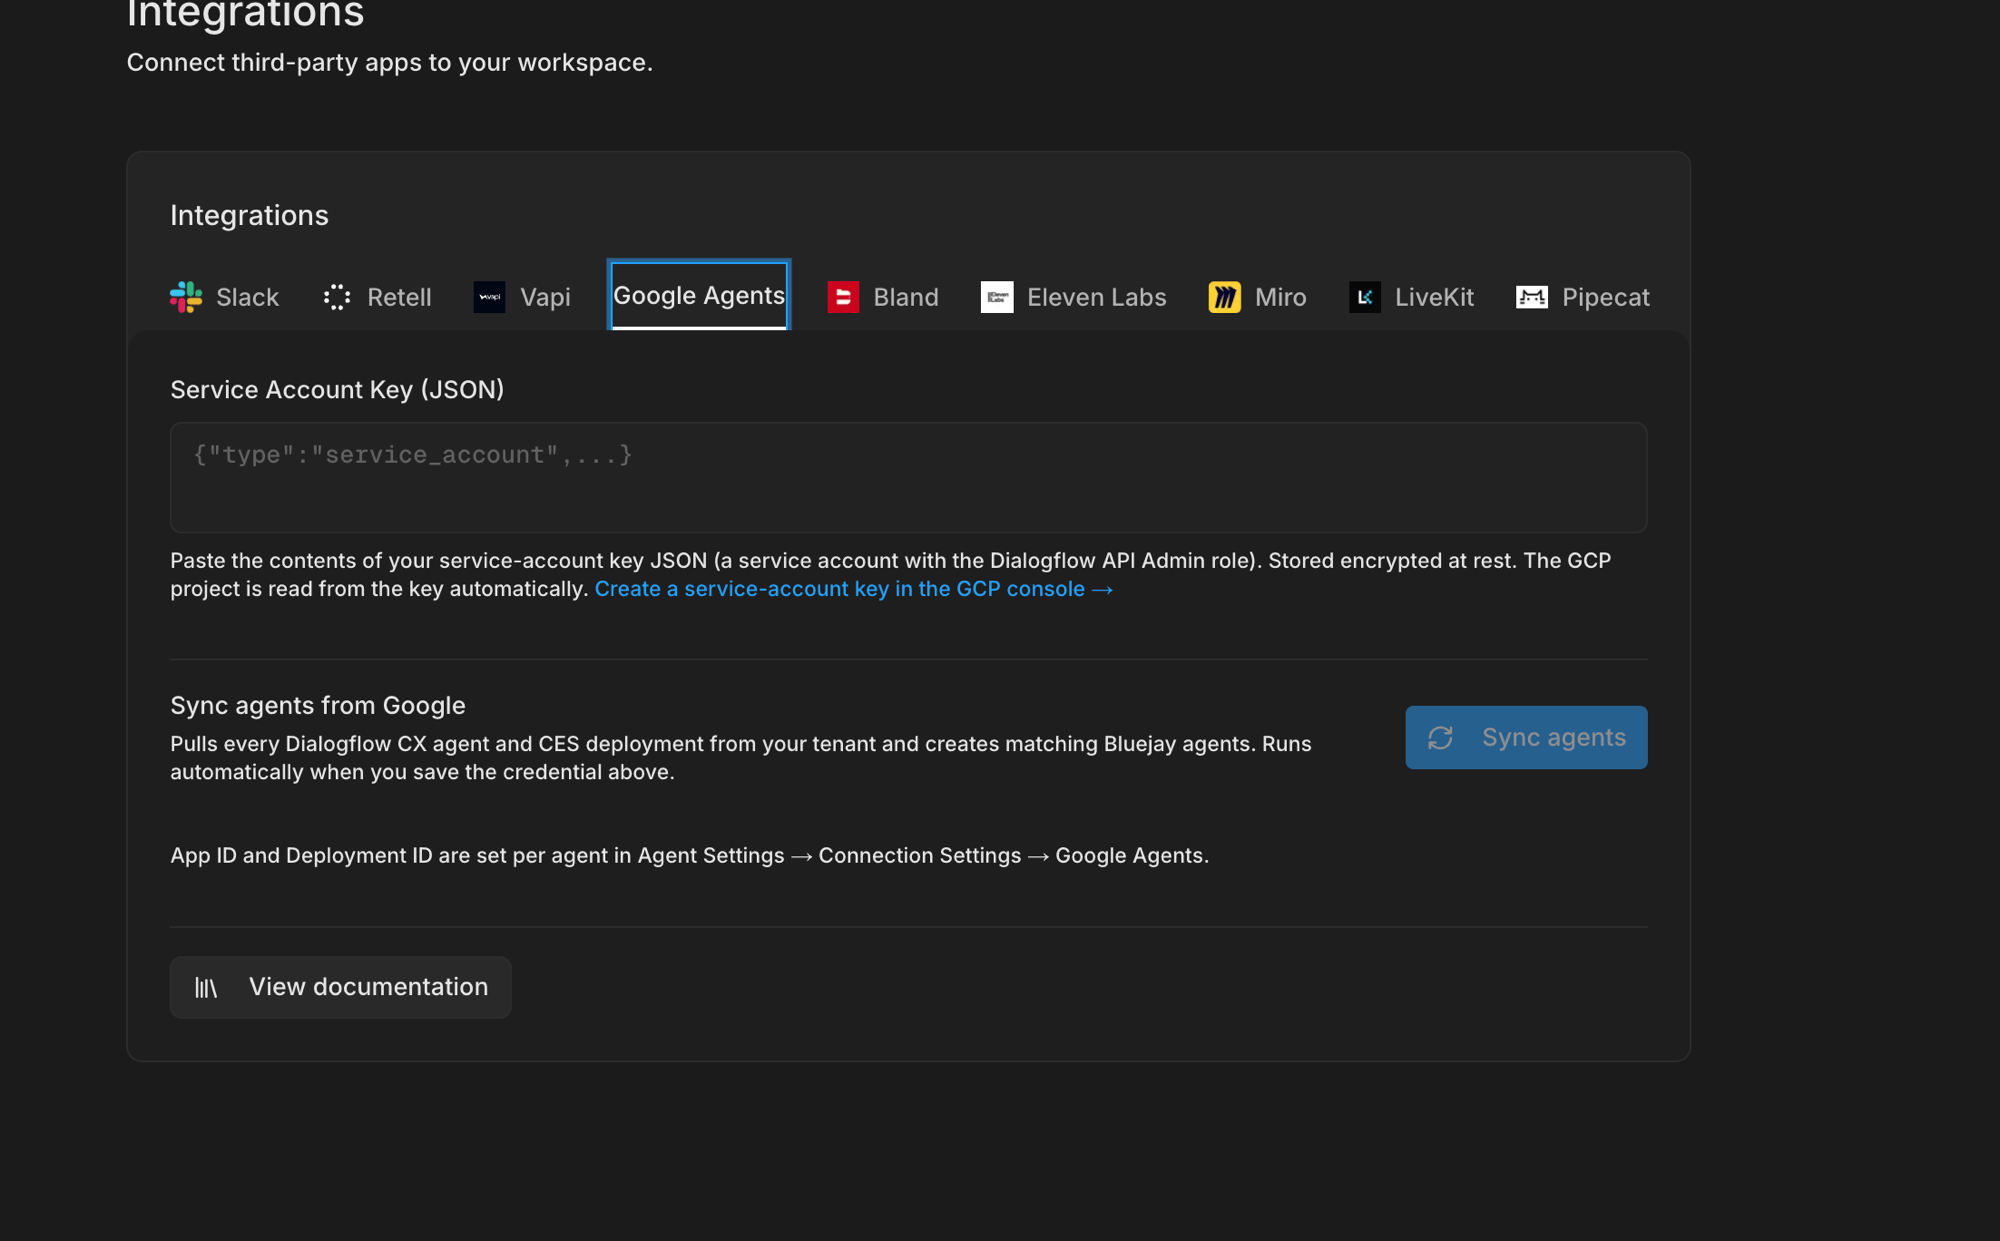
- Click your Organization menu (bottom-left) → Integrations → Google Agents.
- Paste the contents of the JSON key file into Service Account Key (JSON).
- Click Save.
2. Sync your Google agents
Once the credential is saved, discover your agents:- In Settings → Integrations → Google Agents, click Sync.
- Bluejay scans your project across all Dialogflow locations and creates an agent in Bluejay for every DFCX (and CES) agent it finds.
3. Connect an agent
Most agents are wired up automatically by Sync. To connect or adjust one manually:- Open the agent’s Connection settings.
- Choose the Google Dialogflow CX connection type — Voice or Chat.
-
Paste the agent’s resource path. You can paste either the full DFCX console URL or the path
directly — Bluejay normalizes it to:
4. Test your agent
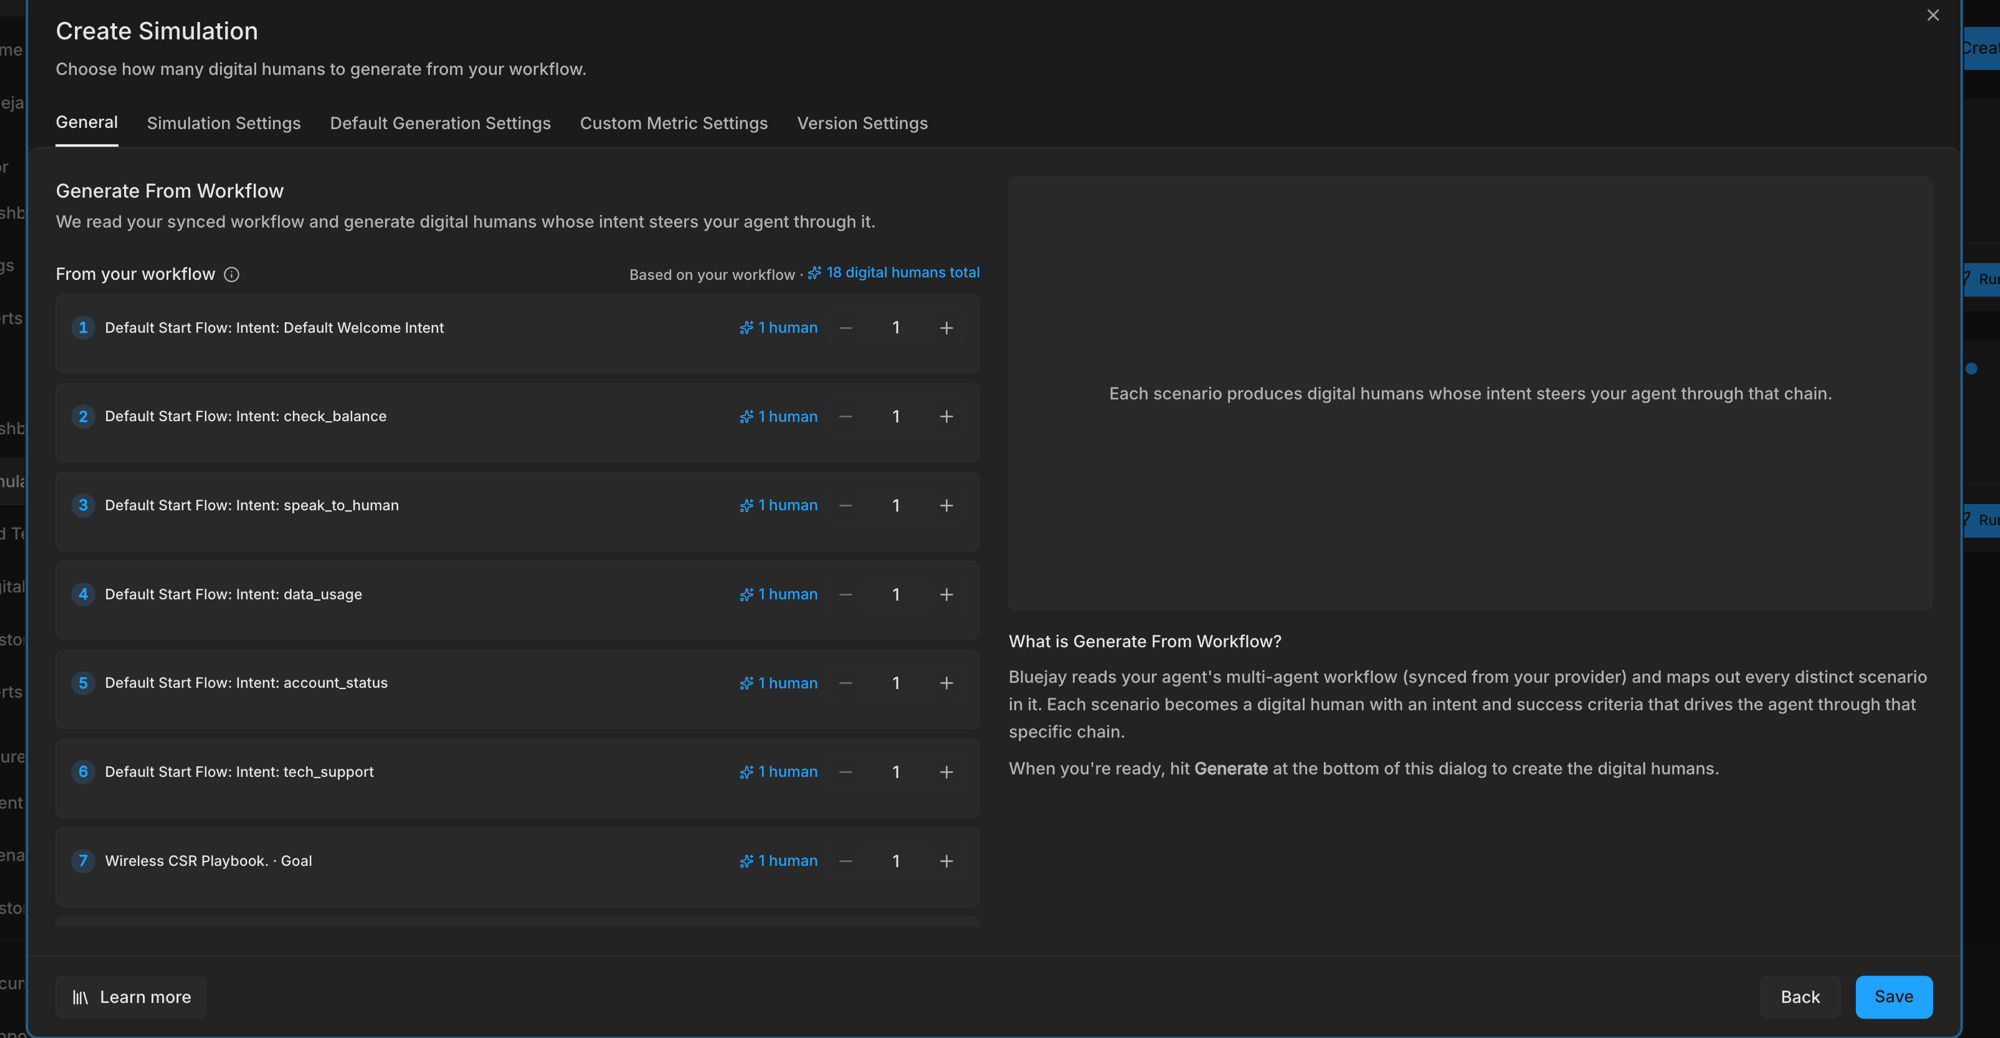
With an agent connected you can run simulations against it like any other Bluejay agent. In Simulations → Create Simulation, pick a simulation type — Generate From Workflow is the one that reads your DFCX agent directly: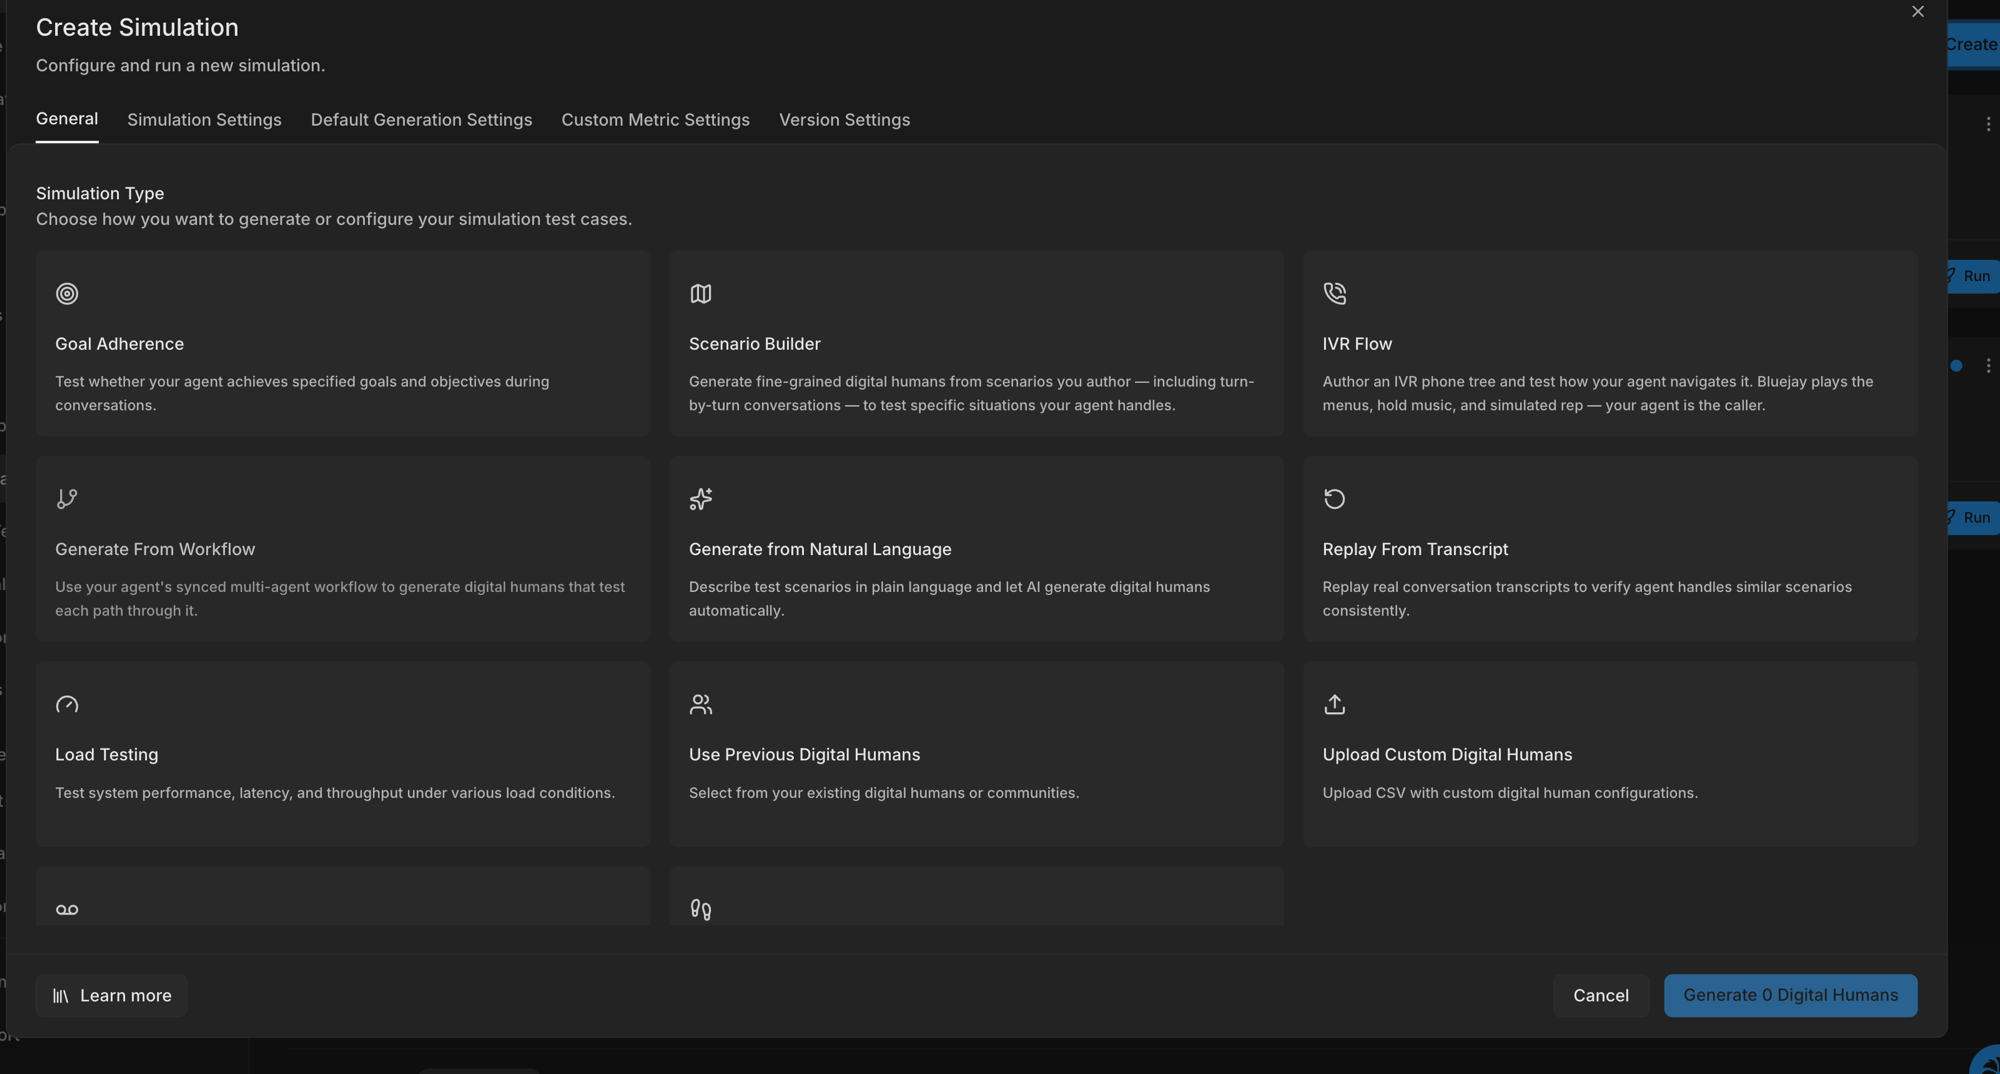
- Voice simulations bridge audio between a Bluejay Digital Human (the caller) and your DFCX agent in real time.
- Chat simulations drive a turn-by-turn text conversation.
5. Edit the workflow
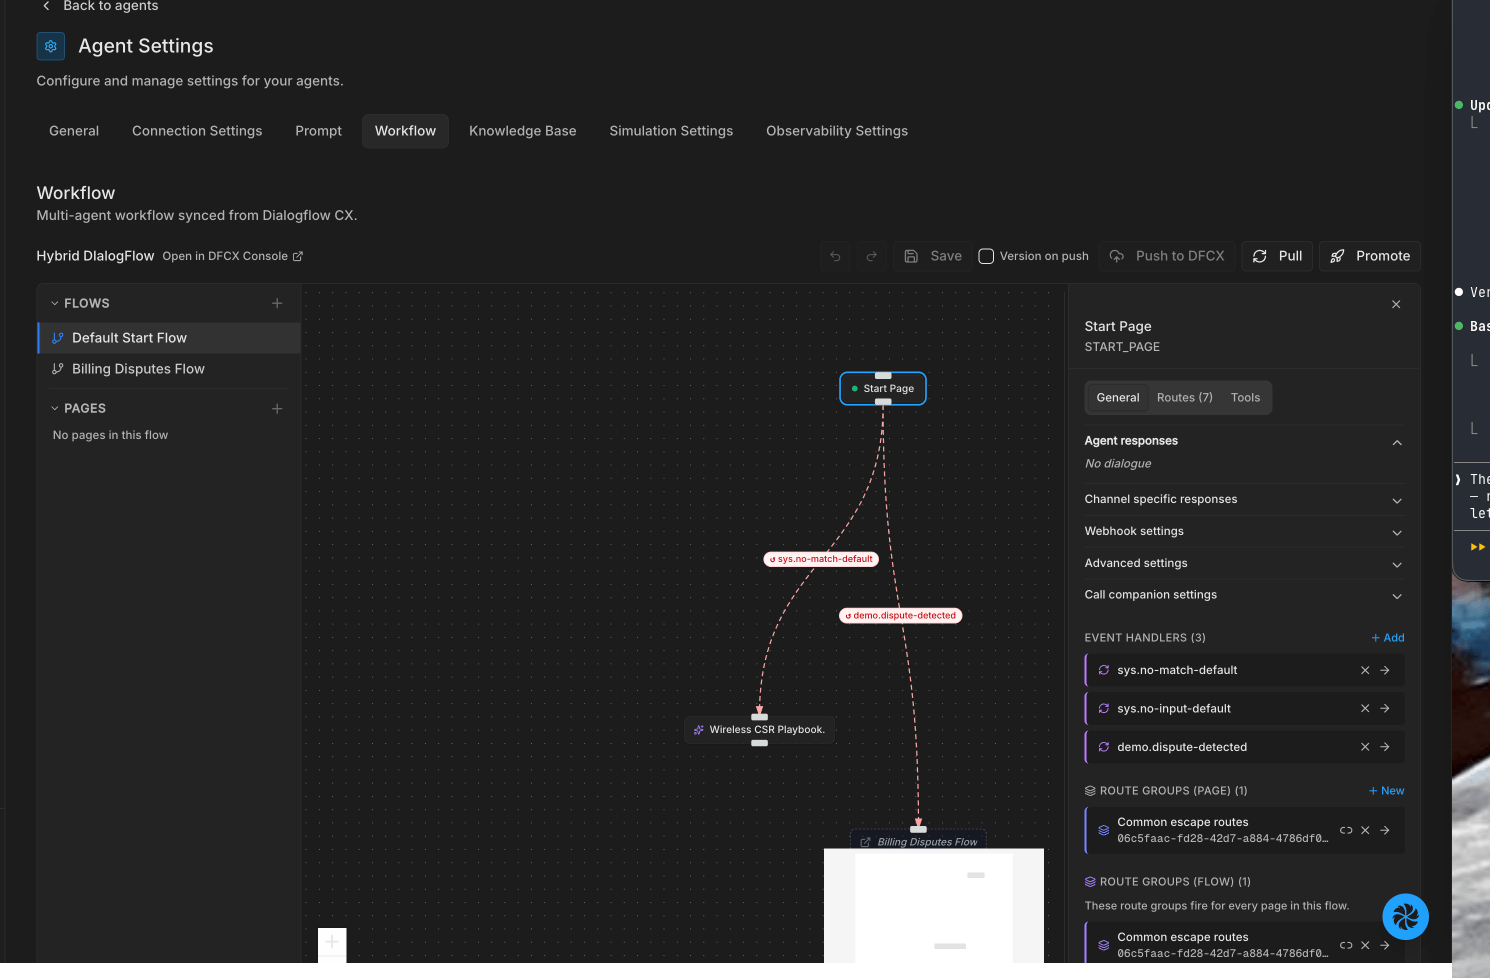
Open the agent’s Workflow tab to see its flows, pages, routes, event handlers, and playbooks on an interactive canvas.- Pull refreshes Bluejay’s copy from the live DFCX agent.
- Edit nodes, routes, and handlers directly on the canvas.
- Push to DFCX sends your local edits back to the agent’s draft. A diff preview shows exactly what will change, and conflicts are surfaced if the agent drifted on Google’s side since your last sync.
6. Versioning & promotion
Bluejay is a thin, governed front door to DFCX’s own versioning and environments — a version or deployment you make here is a real DFCX version/deployment and shows up in the DFCX console.Version on push
When pushing, enable Version on push to snapshot the flows and playbooks your push changed into new immutable DFCX versions — automatically, and only for what actually changed. The result tells you which versions were created.Snapshotting is safe: versions are immutable copies in your draft project. DFCX caps the number of
versions per flow, so versioning is opt-in per push rather than automatic on every save.
Promote to an environment
Use Promote to deploy flow versions into one of your DFCX environments (e.g. Staging, Production):- Click Promote on the workflow.
- Choose the target environment.
- For each flow, pick the version to deploy (or leave it unchanged).
- Confirm.
deployFlow operation as the DFCX console — the environment immediately serves
the deployed versions, and the deployment appears in your DFCX deployment history.